Why Is My HVAC Loud or Leaking Water? Common Causes Fixed
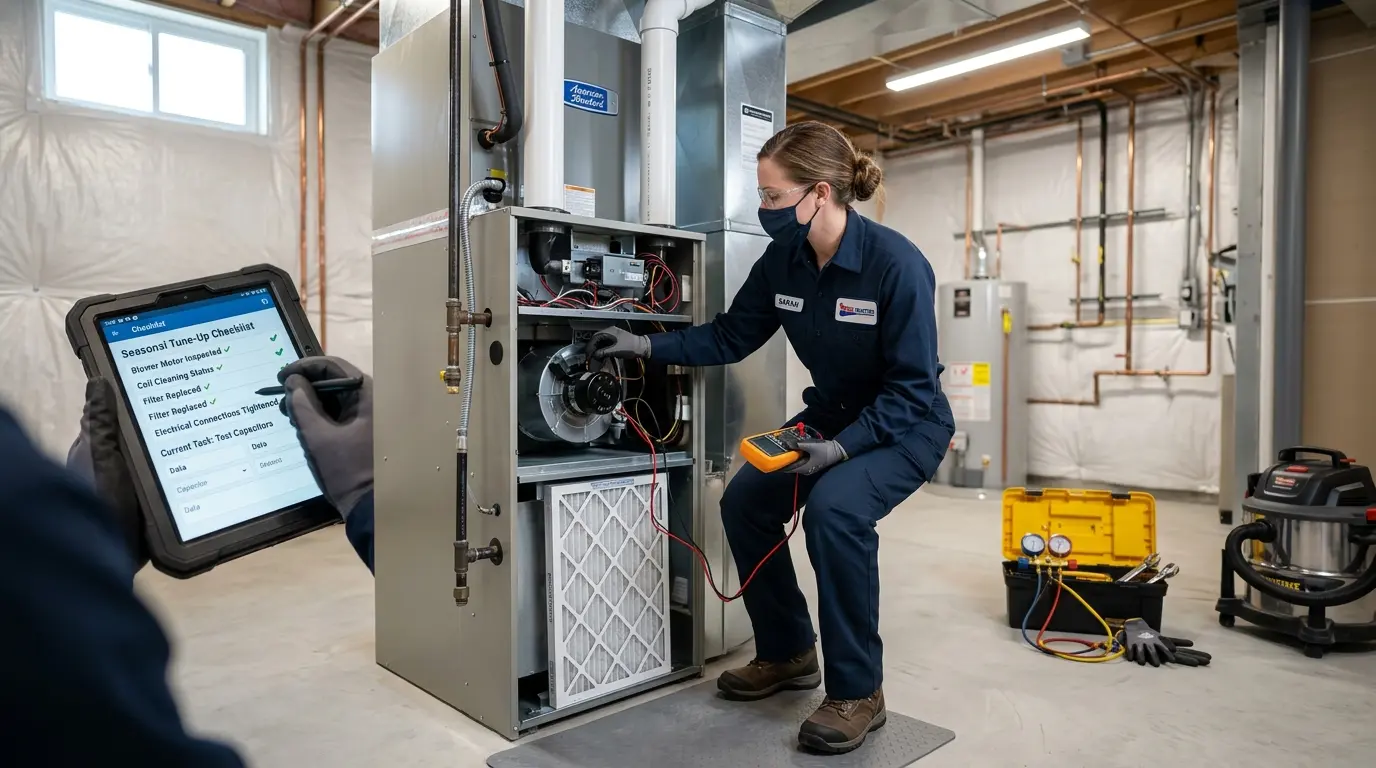
Are you wondering why is my hvac leaking water? The most common reason is a clogged condensate drain line, where dust and debris block the PVC pipe, causing water to back up and overflow the drip pan. Other typical causes include a frozen evaporator coil that melts rapidly, low refrigerant levels dropping below 70 psi, or a cracked drain pan. If you see water pooling around your indoor air handler, shut off the system immediately to prevent further water damage to your home.
Handling an air conditioner or heat pump that suddenly sounds like a freight train or leaves a puddle on your floor can be stressful. Homeowners frequently encounter these twin issues during peak summer cooling months. Both a noisy compressor and an overflowing condensate system indicate that your heating and cooling equipment requires immediate attention. According to the United States Department of Energy (ENERGY.GOV), ignoring these warning signs can decrease system efficiency by up to 20 percent and lead to premature compressor failure. This translates to higher utility bills and potentially thousands of dollars in premature replacement costs.
Why is my HVAC so loud?
When a normally quiet cooling system suddenly produces banging, squealing, or grinding noises, you need to identify the source. The question of why is my hvac so loud often points to loose internal components, failing motors, or debris trapped in the outdoor condenser unit. A properly functioning central air conditioner should operate between 50 and 80 decibels. If your unit exceeds 80 decibels, it usually means a mechanical component has failed or shifted out of alignment. Paying close attention to the specific type of noise can help you diagnose the severity of the problem before a professional technician arrives.
One primary culprit for excessive noise is the blower motor fan belt. In older units, a loose or worn belt will create a high-pitched squealing sound. Replacing this belt typically costs between $100 and $150, but ignoring it can cause the motor to burn out entirely, leading to a much higher replacement bill. Grinding noises almost always indicate worn bearings within the fan motor. When the lubrication dries up, metal scrapes against metal, necessitating an immediate motor replacement to restore normal operation. Expect to pay anywhere from $300 to $600 if the blower motor requires a complete replacement.
If you hear a loud banging or clanking sound from the outdoor unit, shut the system down right away. This specific noise often means a loose part, such as a broken fan blade or a disconnected compressor mount, is rattling around inside the metal casing. Operating the unit in this condition will cause catastrophic damage to the compressor coils. For homeowners looking for step-by-step guidance on safely resetting their equipment after a shutdown, you can review our guide on how to reset and troubleshoot HVAC systems.
| Noise Type | Likely Cause | Urgency Level | Typical Repair Cost |
|---|---|---|---|
| Squealing | Worn fan belt or dry bearings | Medium | $100 to $250 |
| Grinding | Failing motor bearings | High | $300 to $600 |
| Banging or Clanking | Broken fan blade or loose compressor | Immediate | $400 to $1,500+ |
| Hissing | Refrigerant leak or compressor valve issue | High | $200 to $800 |
Detailed Causes of Water Leaks in Cooling Systems
A leaking air conditioner is one of the most frequent service calls during the summer. As your AC removes humidity from the indoor air, the moisture condenses on the cold evaporator coils and drips into a drain pan. This condensation normally flows outside through a 3/4-inch PVC drain pipe. When this drainage process is interrupted, you will quickly find water pooling around the indoor air handler. The amount of water an AC unit produces can be staggering; a typical 3-ton system can generate between 5 and 20 gallons of condensation per day depending on relative humidity levels.
The EPA notes that unchecked water leaks from cooling equipment can lead to severe indoor air quality issues, including mold growth within 48 hours. A cracked condensate drain pan is a frequent offender in units older than 10 years. Over time, the galvanized steel or plastic pans deteriorate due to constant moisture exposure and temperature fluctuations. Upgrading to a new, durable polymer pan typically costs around $250 and will prevent gallons of water from ruining your drywall, flooring, and ceiling structures.
Another common reason for water leakage is a frozen evaporator coil. Coils freeze when restricted airflow or low refrigerant prevents the system from absorbing heat properly. The ice buildup on the coils can reach a thickness of 2 inches. When the system eventually turns off, this massive block of ice melts faster than the primary drain pan can handle, causing a significant overflow. To prevent freezing, ENERGY STAR recommends replacing standard 1-inch fiberglass air filters every 30 days during peak usage periods. A clean filter ensures a consistent flow of warm indoor air over the cold coils, keeping the condensation in a liquid state.
The Relationship Between Low Refrigerant and System Freezing
When your system runs low on refrigerant, the pressure inside the evaporator coil drops significantly. Standard R-410A systems should operate with suction pressures between 110 and 130 psi. If a leak causes the pressure to drop below 90 psi, the temperature of the coil plummets below the freezing point of 32 degrees Fahrenheit. Any humidity in the air immediately turns to frost upon contact with the freezing copper coils. This frost rapidly accumulates into a thick layer of solid ice, blocking airflow entirely.
If you notice ice forming on the copper refrigerant lines or a hissing sound coming from the unit, you likely have a refrigerant leak. Do not attempt to scrape the ice off the coils, as the thin copper tubing is easily punctured, which will vent remaining refrigerant into the atmosphere. Instead, turn the thermostat to the "Off" position and turn the fan switch to "On" to help thaw the ice safely over the next 4 to 6 hours. Once the ice has melted completely, a certified technician must locate the leak using an electronic sniffer, repair the micro-fissure, and recharge the system to exact factory specifications. A refrigerant recharge combined with leak repair typically ranges from $300 to $900.
| Symptom | Root Cause | Recommended Action |
|---|---|---|
| Water pooling at indoor unit | Clogged drain line or cracked pan | Clear line with wet/dry vac or replace pan |
| Ice on indoor coil or outdoor lines | Dirty filter or low refrigerant | Replace filter, thaw system, call technician |
| System runs continuously but doesn't cool | Severe refrigerant leak | Shut off system, repair leak, recharge |
How to Clear a Clogged Condensate Drain Line
Regular maintenance of your condensate drain line is the most effective way to prevent catastrophic water damage to your property. Algae, mold, and dust can create a thick biological sludge that completely blocks the narrow PVC pipe. According to the ACCA (Air Conditioning Contractors of America), homeowners should flush their drain lines at least twice a year. You can perform this preventive maintenance by pouring a simple mixture of one cup of distilled white vinegar and one cup of hot water down the condensate cleanout tee. The mild acidity of the vinegar safely kills biological growth without damaging the plastic piping.
If the line is already completely blocked and water is actively overflowing, you will need to clear the clog manually before turning the system back on. A standard wet/dry vacuum is the best tool for this job. Connect the vacuum hose to the outdoor termination point of the PVC drain pipe. Use heavy-duty duct tape to create an airtight seal between the hose and the pipe. Run the vacuum for 2 to 3 minutes to suck out the gelatinous blockage. Once the clog is removed, you should see standing water flow freely from the pipe, indicating the line is clear.
Installing a condensate overflow switch is a smart, cost-effective preventive measure that every homeowner should consider. This small electrical float switch mounts directly onto the secondary port of the drain pan or the primary drain line itself. If the water level rises above a safe threshold of approximately 1 inch, the float rises and trips the internal switch, automatically shutting off the low-voltage power to the air conditioner. This simple device, which costs around $50 plus installation, can literally save thousands of dollars in water damage repair costs by stopping the cooling process before an overflow occurs.
Maintaining Peak Efficiency and Reducing Operational Noise
Proactive maintenance will resolve both noise and water leakage issues while simultaneously extending the overall lifespan of your expensive heating and cooling equipment. Keeping the outdoor condenser unit clear of tall grass, fallen leaves, and other debris ensures proper airflow and prevents branches from striking the fragile fan blades. Always maintain a minimum physical clearance of 24 inches around the entire perimeter of the outdoor unit so the system can exhaust heat efficiently.
Schedule professional, comprehensive tune ups every spring and fall to catch developing problems early. A certified technician will lubricate moving parts, inspect rubber belts for micro-cracks, and measure refrigerant levels accurately using digital gauges. By addressing minor wear and tear promptly, you prevent the loud grinding noises and sudden water leaks that ruin your indoor comfort during extreme weather. Maintaining a pristine, properly charged, and well lubricated system guarantees optimal cooling performance when you need it most, keeping your home quiet, dry, and energy efficient year after year.
Try Our Static Pressure Calculator
Diagnose high airflow static pressure causing noisy ductwork.
Open Static Pressure Calculator →