Ductless Mini-Split HVAC: Installation & When to Choose It
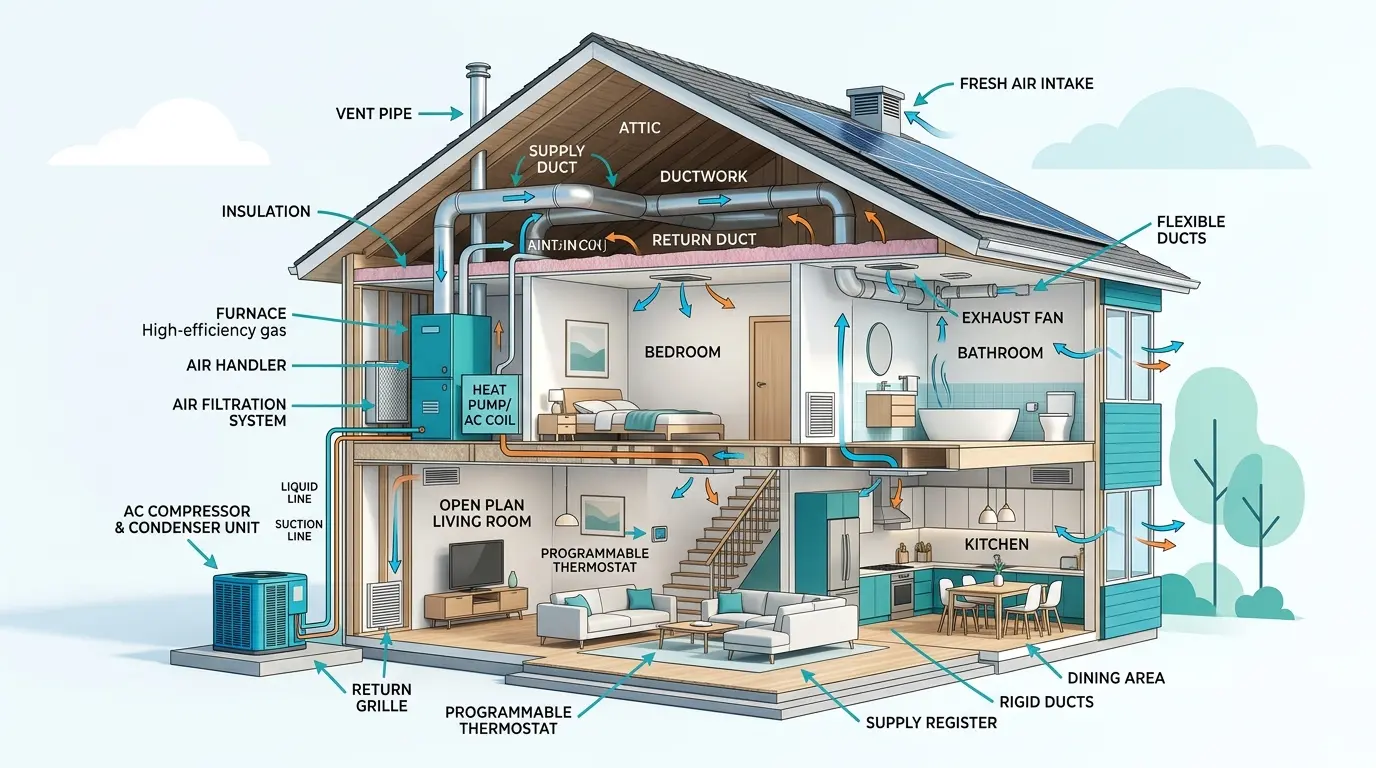
Understanding how to install ductless hvac requires securing an outdoor compressor unit to a solid concrete pad, drilling a three-inch hole through an exterior wall, and routing refrigerant lines, electrical communication cables, and a condensate drain line to connect the outdoor unit with one or more indoor air handling units mounted on the wall or ceiling. While professional installation by a licensed technician is strictly recommended for safety and warranty compliance, grasping the basic step-by-step process allows homeowners to prepare their property, evaluate contractor estimates accurately, and ensure a smooth project timeline.
What Is a Ductless Mini-Split HVAC System?
A ductless mini-split system provides customized heating and cooling without relying on traditional ductwork. According to the United States Department of Energy (DOE), these systems consist of two primary components. The first is an outdoor compressor or condenser. The second is an indoor air handling unit. A conduit housing the power cable, refrigerant tubing, suction tubing, and a condensate drain links the indoor and outdoor units.
Because they do not require ducts, mini-splits avoid the energy losses associated with central forced-air systems. The DOE estimates that duct losses can account for more than 30 percent of energy consumption for space conditioning, particularly if the ducts traverse unconditioned spaces like attics. By delivering temperature-controlled air directly into different zones, ductless systems provide highly efficient climate control.
When to Choose a Ductless Mini-Split System
Determining whether a ductless mini-split is the right solution depends on your existing home infrastructure and specific climate control needs. For a broader overview of different configurations, read our HVAC system types explained guide. Mini-splits excel in several specific scenarios:
- Older Homes Without Existing Ductwork: Retrofitting historic homes with large metal ducts often ruins architectural aesthetics and requires substantial structural modification. Mini-splits provide modern cooling and heating via a small wall penetration.
- Room Additions and Garage Conversions: Extending existing ductwork for a new room addition forces the current central air conditioner to work beyond its designed capacity. Installing an independent mini-split ensures the new space receives adequate airflow without compromising the rest of the house.
- Addressing Hot and Cold Spots: Rooms with large south-facing windows or poor insulation frequently suffer from inconsistent temperatures. A single-zone mini-split can supplement the primary system to maintain a comfortable environment in these problematic areas.
- Downsizing and Zoning Needs: Empty nesters often heat or cool unused bedrooms unnecessarily. Multi-zone mini-splits allow homeowners to condition only the occupied spaces, significantly reducing energy consumption.
How to Install Ductless HVAC Systems: Step-by-Step
Proper installation dictates system longevity and efficiency. The Air Conditioning Contractors of America (ACCA) emphasizes that correct equipment placement and sizing are non-negotiable for optimal performance. Here is an overview of the typical installation sequence.
Step 1: Selecting the Indoor Unit Location. The indoor air handler must be mounted on a sturdy exterior wall, at least seven feet above the floor, with a minimum of six inches of clearance on all sides to allow proper airflow. The location must be away from direct sunlight, heat sources, and televisions to prevent sensor interference.
Step 2: Installing the Mounting Plate. The technician secures a metal mounting bracket to the wall studs using heavy-duty anchors. This plate must be perfectly level to ensure the condensate drain flows correctly. A misaligned unit will inevitably leak water inside the home.
Step 3: Drilling the Access Hole. A hole measuring exactly three inches in diameter is drilled through the exterior wall, angling slightly downward toward the outside. This downward slope relies on gravity to facilitate condensate drainage. A PVC sleeve is inserted into the hole to protect the lines from sharp edges and structural friction.
Step 4: Positioning the Outdoor Condenser. The outdoor unit is placed on a raised concrete or composite pad to keep it above potential snow accumulations and ground moisture. According to ENERGY STAR guidelines, the condenser should have at least 24 inches of clearance from surrounding foliage and walls to guarantee adequate air circulation.
Step 5: Connecting the Refrigerant Lines and Wiring. Copper refrigerant lines, heavily insulated to prevent condensation and thermal loss, are fed through the wall sleeve alongside the electrical communication wire. These are securely connected to both the indoor and outdoor units using specialized flare fittings.
Step 6: Vacuum Testing and Charging. Before releasing the refrigerant, the technician connects a vacuum pump to remove all ambient air and moisture from the lines. Leaving moisture inside the copper tubing mixes with the refrigerant to form acids that destroy the compressor motor. Once the vacuum holds steady, indicating no leaks, the refrigerant valves are opened.
System Sizing and Capacity Guidelines
Installing an improperly sized system leads to high humidity, excessive wear, and shortened equipment lifespans. Heating and cooling capacity is measured in British Thermal Units (BTUs). To ensure you purchase the correct size, always insist on a formal Manual J calculation as required by the ACCA. For a more detailed walkthrough, consult our HVAC sizing guide.
The table below provides a generalized estimate for sizing a single-zone mini-split based on square footage, assuming standard eight-foot ceilings and adequate insulation.
| Room Size (Square Feet) | Estimated Cooling Capacity Required (BTUs) | Estimated Heating Capacity Required (BTUs) |
|---|---|---|
| 150 to 250 | 6,000 | 9,000 |
| 250 to 300 | 7,000 | 10,000 |
| 300 to 350 | 8,000 | 12,000 |
| 350 to 400 | 9,000 | 14,000 |
| 400 to 450 | 10,000 | 15,000 |
| 450 to 550 | 12,000 | 18,000 |
| 550 to 700 | 14,000 | 21,000 |
| 700 to 1,000 | 18,000 | 24,000 |
Remember that regional climate heavily impacts sizing requirements. A 400-square-foot room in a southern state requires more cooling capacity than the exact same room located in a northern state. Conversely, northern installations demand a heavy-duty cold-climate heat pump rated to operate efficiently at sub-zero temperatures.
Energy Efficiency and Potential Savings
The Environmental Protection Agency (EPA) notes that upgrading to an ENERGY STAR certified ductless mini-split system can cut cooling costs by 30 percent compared to conventional room air conditioners. These savings stem primarily from variable-speed compressor technology, commonly referred to as inverter technology.
Traditional compressors operate on a simple binary principle: they are either running at 100 percent capacity or entirely shut off. This constant cycling consumes massive amounts of electricity upon startup and leads to noticeable temperature swings within the room. Inverter compressors, however, modulate their speed to match the exact heating or cooling demand of the space. If the room only requires a slight temperature adjustment, the compressor operates at a low, energy-sipping speed, maintaining a perfectly consistent temperature while drawing minimal power.
Additionally, homeowners installing high-efficiency heat pumps may qualify for significant financial incentives. Under current guidelines from IRS.gov, the Energy Efficient Home Improvement Credit provides a tax credit covering 30 percent of the total installation cost for qualified equipment, up to a maximum of $2,000 per year. Checking local utility rebates can yield further savings.
Cost Considerations for Mini-Split Installations
The initial purchase and installation price of a ductless mini-split generally exceeds the cost of a traditional window unit or standard baseboard heater, but it offers vastly superior efficiency and comfort. A basic single-zone system intended for a 300-square-foot bedroom typically ranges between $3,000 and $5,000 fully installed. A comprehensive multi-zone system designed to condition an entire 2,000-square-foot home can range from $8,000 to $15,000 depending on the complexity of the installation and the number of indoor handlers required.
| Cost Factor | Impact on Total Installation Price |
|---|---|
| Number of Zones | Each additional indoor air handler requires separate refrigerant lines and increases the size of the outdoor compressor. |
| System Efficiency Rating | Units with a Seasonal Energy Efficiency Ratio (SEER2) above 20 command a premium purchase price but offer lower long-term operating costs. |
| Distance Between Units | Longer distances between the indoor handler and outdoor compressor require more copper tubing and extra refrigerant, driving up material costs. |
| Electrical Upgrades | Older homes might require a dedicated 220-volt circuit and an upgraded electrical panel to handle the new load safely. |
Investing in premium equipment built for extreme climates also adjusts the final price. Hyper-heating models designed to extract heat from outdoor air down to minus 15 degrees Fahrenheit utilize advanced flash-injection technology that increases manufacturing costs.
Maintenance Requirements for Longevity
Routine maintenance prevents unexpected breakdowns and preserves the system's operating efficiency. While professional servicing is recommended annually, homeowners must take responsibility for monthly upkeep to guarantee adequate airflow.
- Clean the Reusable Filters: Unlike central systems with disposable paper filters, mini-split indoor handlers feature reusable mesh screens. Remove and wash these screens with warm water and mild soap every two to four weeks. A clogged filter severely restricts airflow, forcing the blower motor to overheat.
- Clear the Outdoor Condenser: Inspect the exterior unit regularly to ensure leaves, grass clippings, and winter snowdrifts do not block the heat exchanger coils. Maintain a minimum two-foot clearance zone around the equipment.
- Check the Condensate Drain: Algae and dust can accumulate inside the condensate line over time, eventually causing water to back up and spill out of the indoor unit. Flushing the line with a diluted bleach solution during the spring prevents blockages.
- Schedule Annual Professional Inspections: A licensed technician must check the refrigerant charge, test electrical connections, and deep-clean the indoor blower wheel to prevent mold accumulation.
Adhering to these simple maintenance guidelines ensures the ductless mini-split system delivers clean, comfortable, and highly efficient climate control for 15 to 20 years.
Try Our AC Sizing Calculator
Calculate exact BTU requirements for individual room mini-split zones.
Open AC Sizing Calculator →Note on Ductless Systems
We currently do not offer direct phone connections for ductless mini-split services through our national network. We recommend searching local directories for specialized ductless contractors.